- Step 1. Floor Preparation for the Epoxy System:
- First, you’ve got to make sure your surface is TOTALLY clean, solid and free of all dust and debris.
- Step 2. Apply the Colored Epoxy Paint Base Coat:
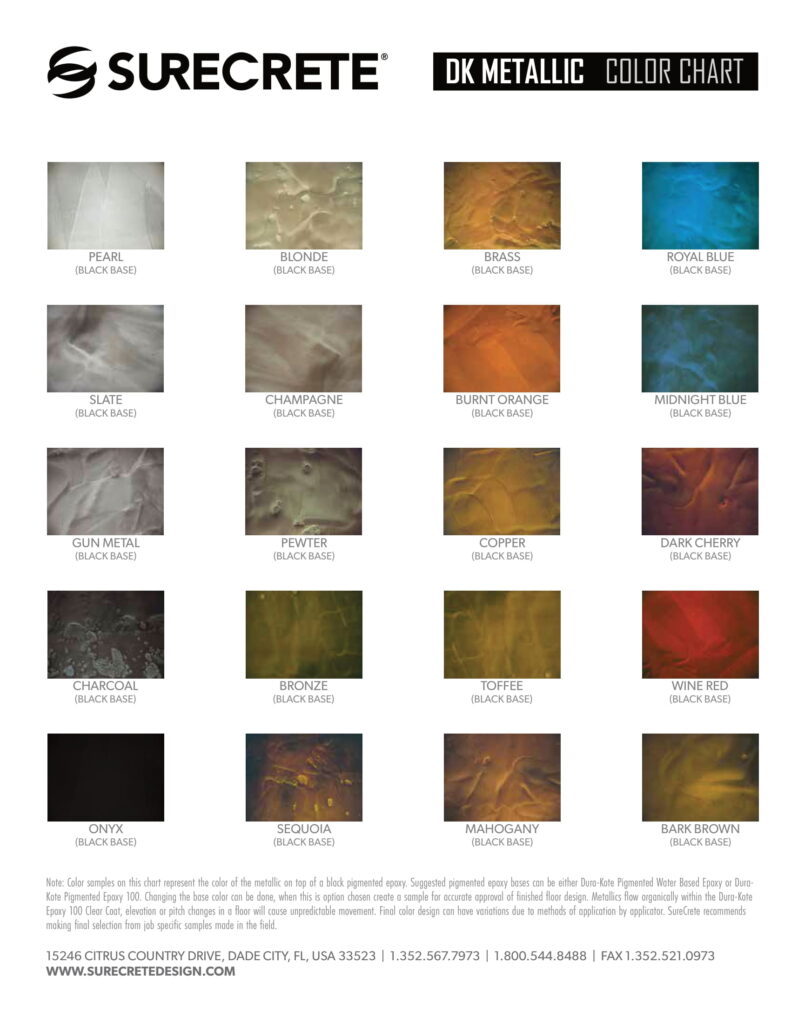
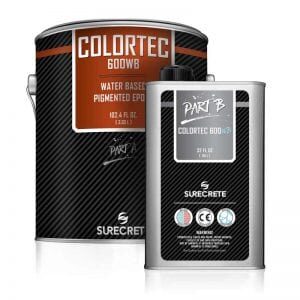
- Use the base coat for your metallic floor – we suggest either our Dura-Kote Water Based Colored Epoxy or Dura-Kote Pigmented Epoxy 100 in black or at least a very dark color, even for epoxy garage floor surfaces.
- Step 3. Preparation for Metallic Coating:
- Once the prime coat has cured through, the floor needs to be screened with a 100 grit sanding screen and all subsequent dust and debris vacuumed off the surface.
- Step 4. Mixing and Applying Metallic Reflective 3D Coating:
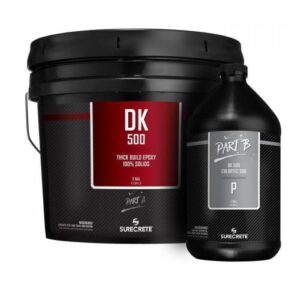
- Now you’re ready to apply your desired Epoxy Metallic pearls using the Dura-Kote Epoxy 100 sealer. The typical mixing ratio is (1) 16oz canister of metallic pearls per 3 gallons of catalyzed product. This must be mechanically mixed with a drill and a paddle mixer. Now it’s time to pour out your sealer on the floor in a fairly long trail (ribbon) and spread it around the way you like! This part is really up to you and how you want the design of your floor to look. Just make sure you’re wearing spiked shoes while you do it even while doing epoxy floor coating floors.
- Step 5. Apply Clear Top Coat Protection:
- Once that last very beautiful coating of epoxy metallic has cured out, we highly recommend applying a top coat or “sacrificial” coat of sealer to make sure your new floor lasts a VERY long time and is just as durable as it is pretty. Once again, the floor needs to be screened with a 100 grit sanding screen, and all subsequent dust and debris vacuumed off the surface. This can be done with a wide variety of products, but the Dura-Kote Polyaspartic line would be at the top of the list – specifically the Dura-Kote PFC-120.


